
"Projects" in DataHub is a place for collaboration. There are two different kinds of projects: individual projects and group projects. Members of each project can upload files or add text notes, and comments.
| Individual Projects | Group Projects |
|---|---|
| Everyone uses their own quota and account storage. |
Submitters’ quota will not be used, storage allocation comes directly from the project. All work is stored on institutional storage and remains within the project space if people leave. |
| Project members take their work with them if they leave the project. | Items are created using the metadata schema of the submitter. Contributors must adopt the metadata schema of the project owner. |
| Items appear in the subgroup of the uploader. | Items appear in the subgroup of the project owner. |
| Items published by users from outside the organization don’t have to go through review (if review is turned on for the group). | Items published by users from outside the organization have to go through review (if review is turned on for the group). |
More details on: How to use projects and collaborate on Figshare
To Start a Project
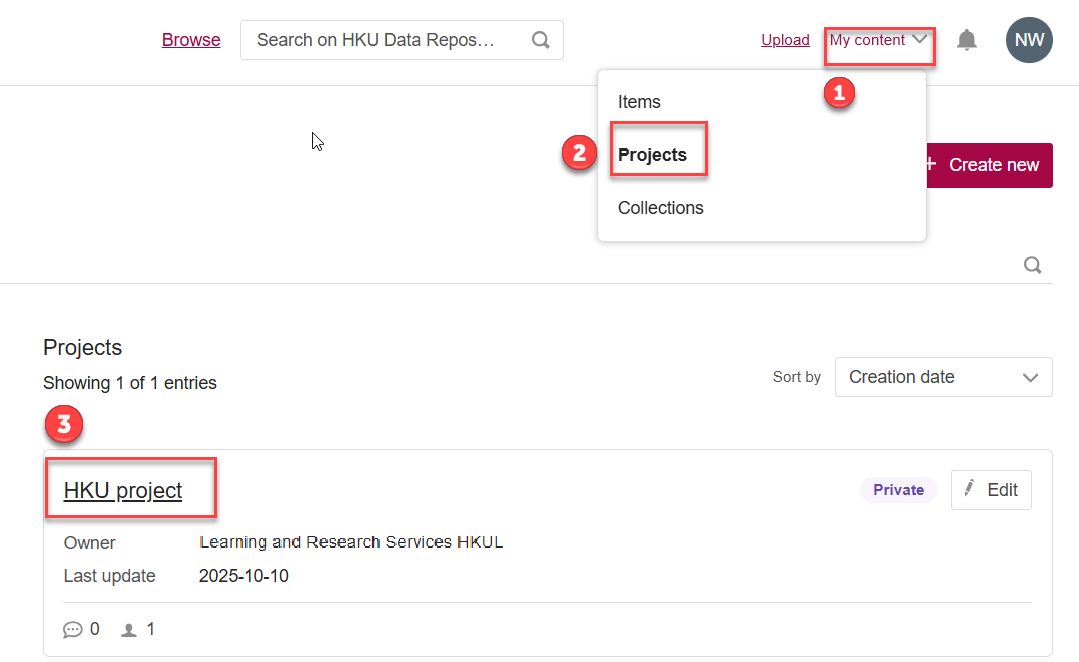
1. Go to “My content > Projects” page. Click on the "+Create new" button.
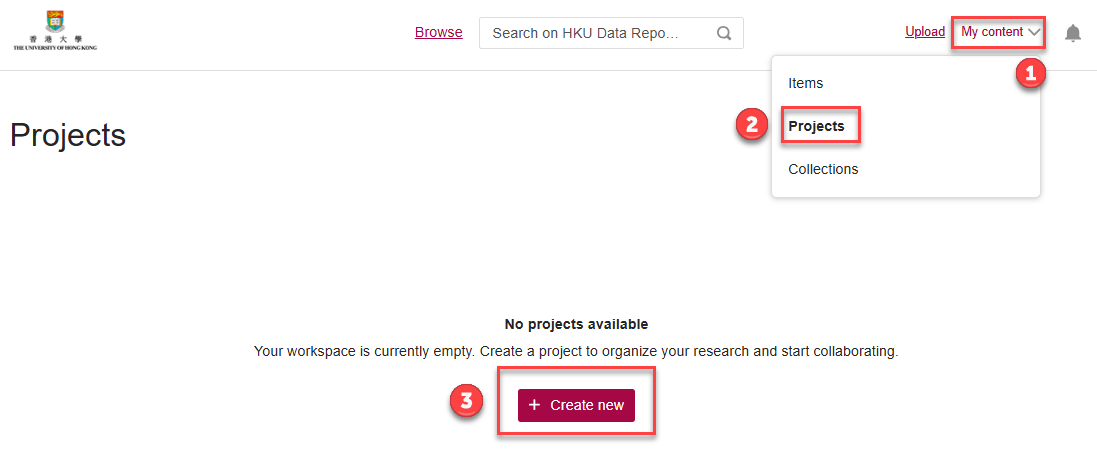
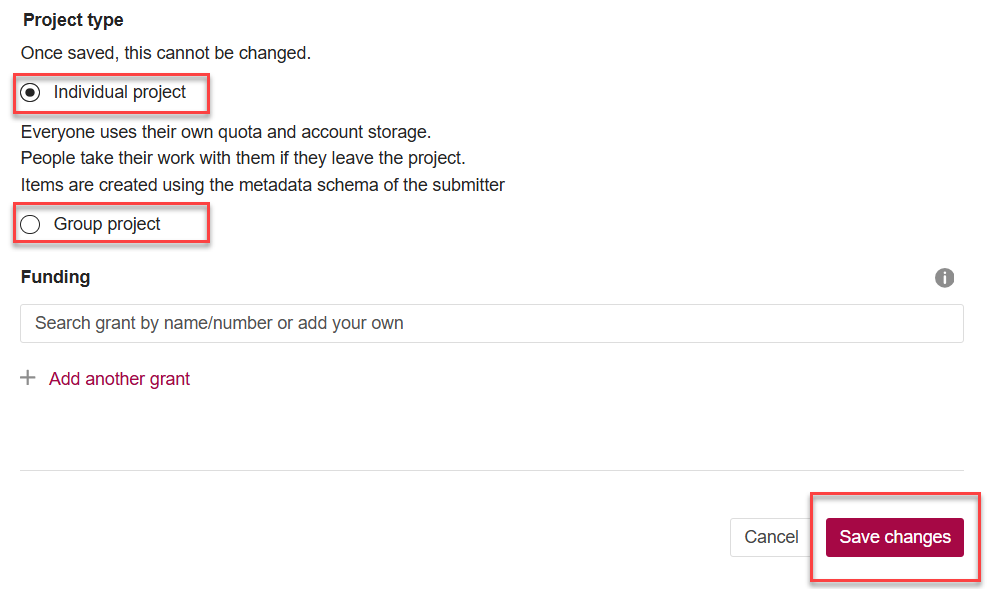
2. Complete the fields as descriptively as possible. You can select the project type for individual or group use, then click "Save changes".
New Project
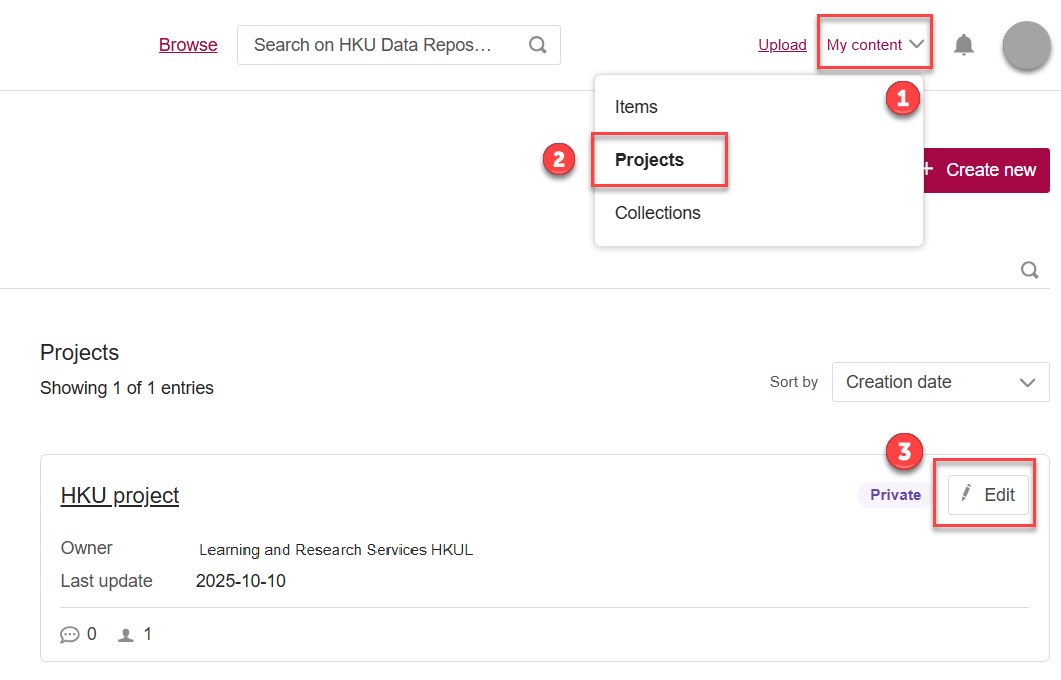
1. Go to “My content > Projects” page. Click on “Edit” button.
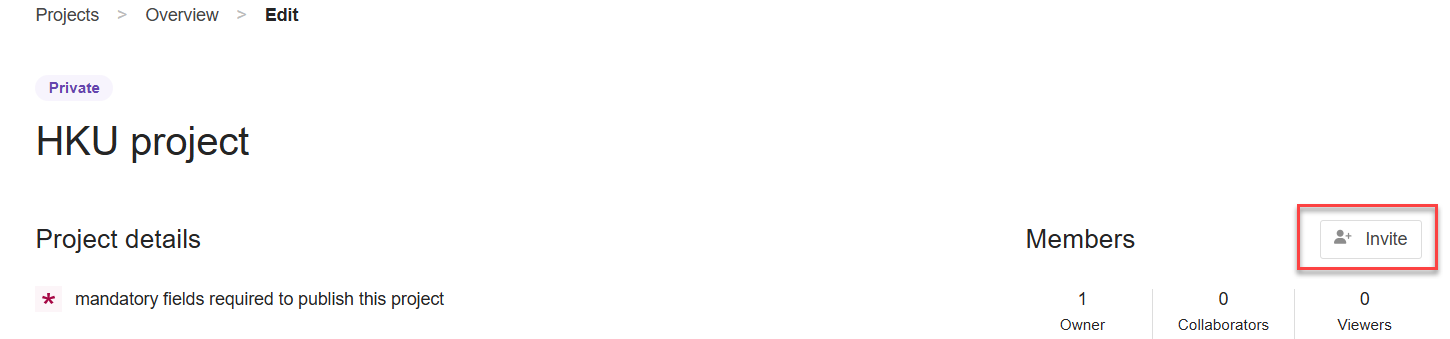
2. Click on the “Invite” button on the right hand side to invite people to join your project.
3. Enter the name and email address of the person you would like to invite, and select the role to be assigned to them in the project. There are two types of user role: collaborator and viewer.

4. Click “Send Invite” button.
“Project” can be published independently with a specific page created when at least one item is publicly available in the project space. Private items will remain private when a project is published. Usage metrics are also available for the project.
To publish a project:
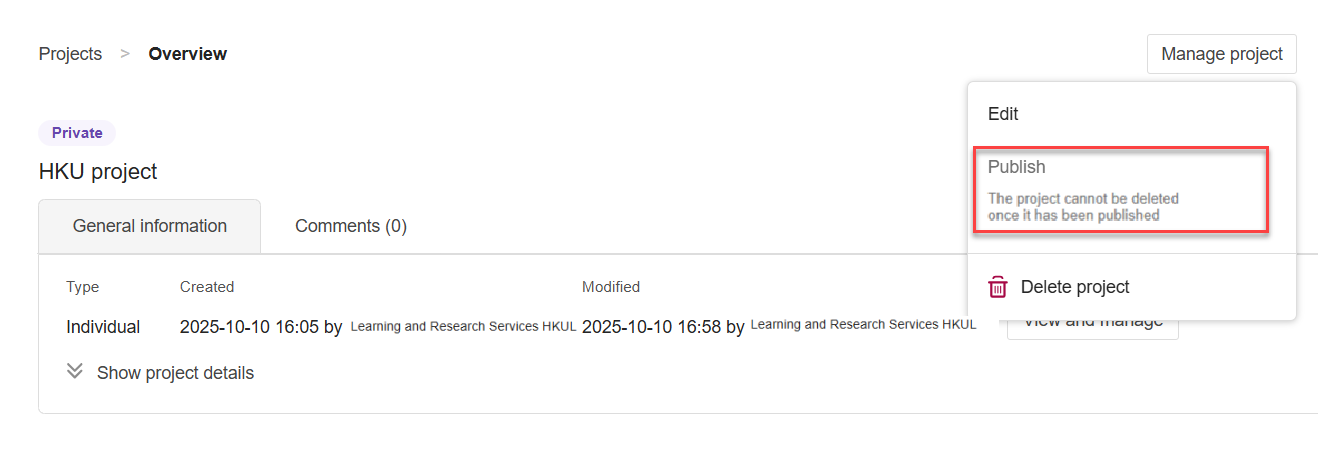
1. Go to “My content > Project” page, then select the project you wish to publish.
2. Choose “Publish”. Please be reminded that the project can no longer be deleted once it has been published.
3. An example of the project page is shown below:

