
Updating your profile
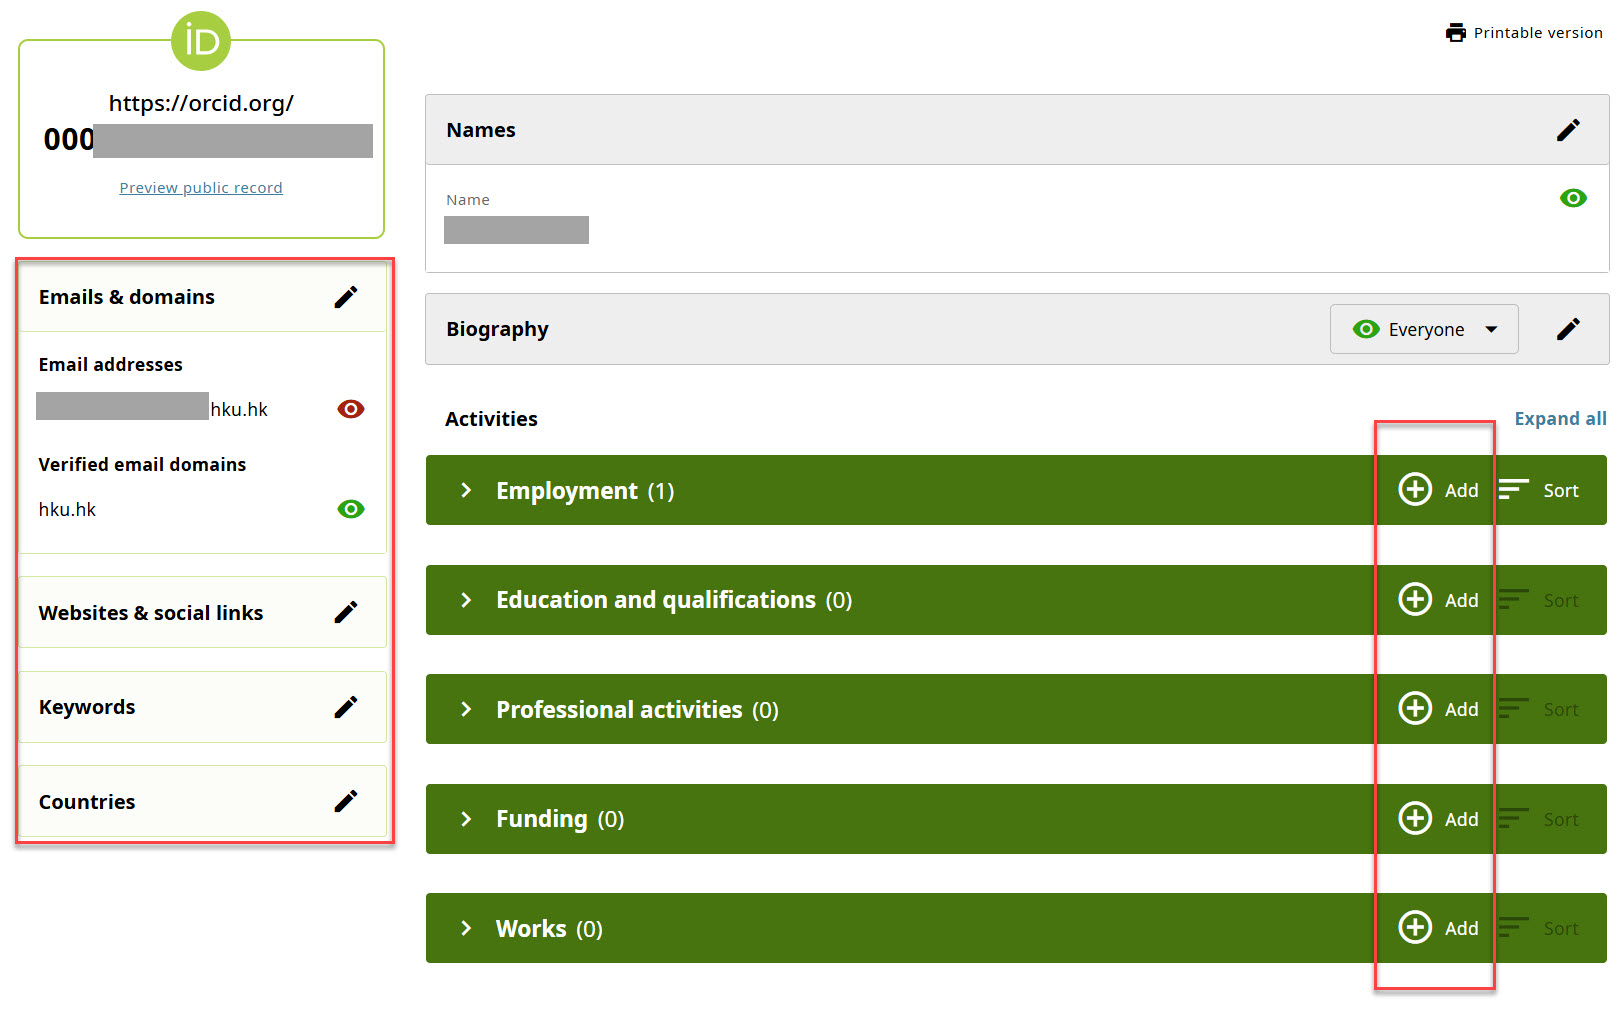
Once you have created an ORCID iD account, take the next steps to build your profile by updating your employment history, education and qualifications, honoured positions, membership, fundings received, and your research outputs, etc.
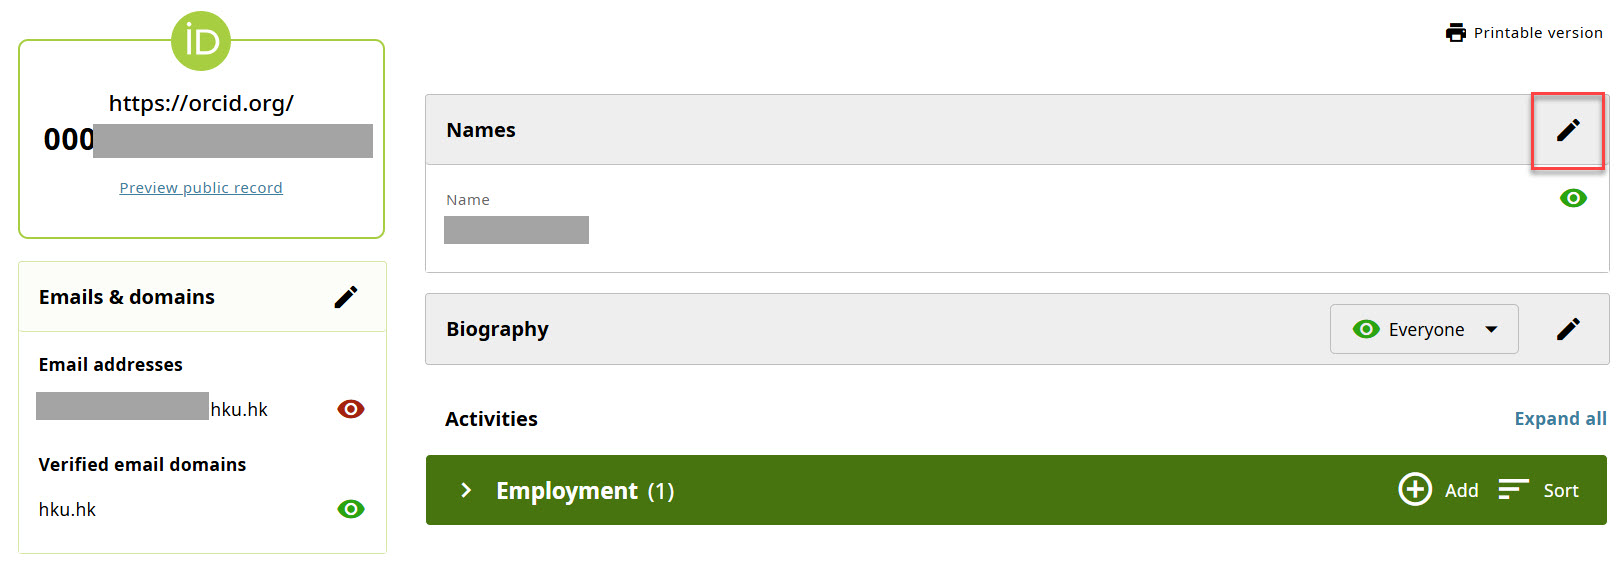
By clicking on the pencil icon on the top right corner, you will arrive the editing page for your name appearing on your profile. It is important for you to enter your “other names” appeared in different published works. You may add them under the section “Also known as” by selecting "add other name" on the editing page.

Adding extra email address and setting up primary email address
On the left panel, click on the pencil icon in the email section for set-up.
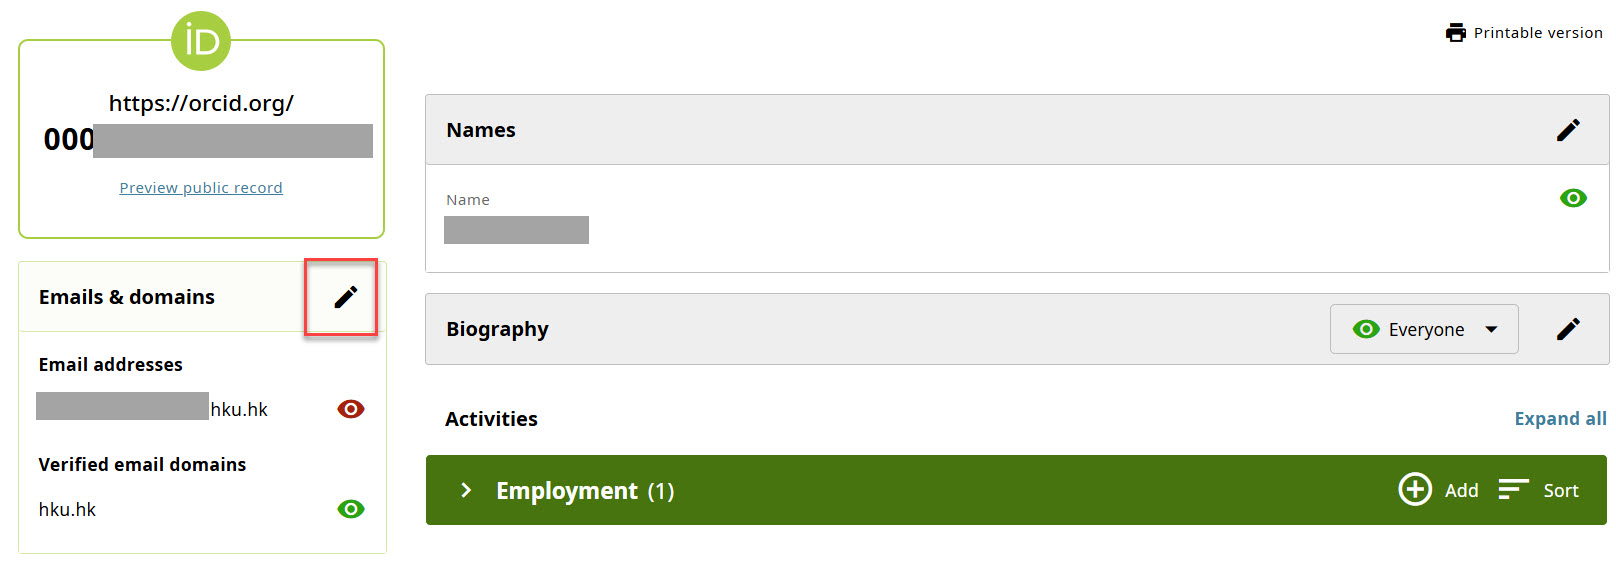
On the editing page, you can add extra email addresses into your profile. If you would like to set-up your newly added email address as your primary email for your profile, simply click on "make primary email" next to the email address. After saving the changes, it will take a few minutes for the updates to be shown on your profile. If you cannot see the changes, try to refresh the webpage on your browser.

Edit your account settings
Click on your name appeared at the top right of the screen and select “Account Settings” on the drop-down menu.

You may edit your preferences and password of your ORCID iD account.


Privacy and visibility setting
You are able to change the privacy and visibility settings for your ORCID records at any time on your "Account settings" page. The set-up can be made under the "Visibility" tab. There are three visibility settings available: everyone, trusted organizations, and only me.

Everyone
Under this setting, your ORCID records will always be publicly available.

Trusted parties / organizations
You may choose to only grant access to any trusted parties, including organizations or individuals who are ORCID iD holders.

Only me
Under this setting, your records can only be accessed by you and any trusted individual whom you have granted access to administer your ORCID record on your behalf.

Adding your research output to your ORCID profile
After logging into your ORCID iD account, under the “Works” section, you may choose to add your works by a number of means, including search and link, add DOI, add PubMed ID, add BibTeX, and add manually.

Search and link
You may directly search for your published work by selecting “search & link”. Under this option, you may firstly choose one of the listed link wizards to get started. There are common partners including Crossref metadata search, DataCite, Scopus - Elsevier, etc. Please refer to this page for further details on adding works via search and link.

Add work from DOI / PubMed ID
If a Digital Object Identifier (DOI) / PubMed ID has been assigned to your published work, you may simply enter the respective identifier of your published output, and click on “retrieve work details from DOI / PubMed”. Adding a DOI has been taken as an example shown below:

Some metadata fields will be auto-filled for you. There are 6 sections on the submission form. You may add more metadata as required. Once the information are completed, click on “add this work to your ORCID record” to confirm the submission.

Import BibTex
If you already have your BibTex file on hand, you may browse your computer and upload the file. Click on “Choose BibTeX file to import”.

Select the BibTex file saved on your computer and press the “open” button.

The system will return you the data retrieved from your uploaded BibTeX file. Select the one(s) that you would like to add by ticking the box next to the work title. Press on "Import work to your record" to confirm.

Learn more on how you can add works to your ORCID record on the ORCID help guide.